Google Authorship Guide
Google has recently introduced the authorship markup, tagged rel=author, which ties websites’ content with its writers’ social media profiles.
When a content writer uses the rel=author tag, his profile picture will appear on Google search results alongside his name and will direct to his Google+ profile and to other articles.
Author rank, the authority attributed to the author, is now one of factors that affects search engine ranking. Websites with verified authors will be favored on search results and as a welcome side effect will be branded as experts in their field.
Google Authorship Verification
To have your author identity verified by Google, first you will need to open or edit your Google+ profile so it will meet with Google authorship terms.
1. Your Google+ profile should be identical to your name as it is displayed on your website or blog content.
2. Your profile picture should be a clear image of your face. (edit profile>photos>change profile photo)
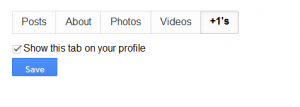
3. Mark the checkbox “Show this tab on your profile”. (edit profile>+1’s)
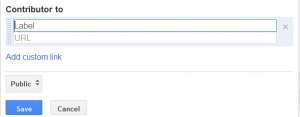
4. On the “about” tab, click “Other profiles” and then “Add custom link” to add links to your profile on other social networks such as Facebook, Twitter, Linkedin, etc.
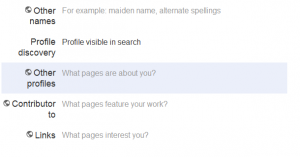 5. If you have an “author bio” page on your website or blog, a page that lists your resume and is linked from your articles, also add a custom link to this page on “contributor to”.
If you don’t have this page, simply add a link to your website’s homepage.
6. Though not necessary, at the same tab you can also fill in the “Occupation”, “Employment” and “Education” fields – it will be added to your creditability.
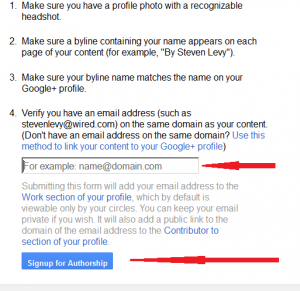
7. For an alternative and simple verification method, enter Google Authorship page, fill in your email address and click “signup for authorship”. Note that you can use this method only if your email address is identical to the website domain and the author’s credit line on your articles is opened with the words “by”.
After you’ll verify your email address, the website will be automatically added to your “contributor to” field on your Google+ account.
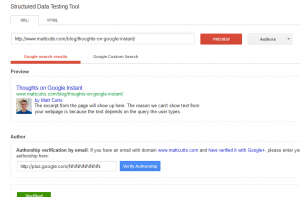
8. To validate the rel=author tag use Google Webmaster Tools Structured Data Testing Tool – paste the URL of your author bio page or website content page and click preview.
In conclusion, Google is trying to display reliable and professional content on the top search result pages, and the significance of site’s content written by reliable and verified authors is likely to grow. Content writers, bloggers and and professionals can definitely benefit from adding the “rel=author” tag in their websites.


